
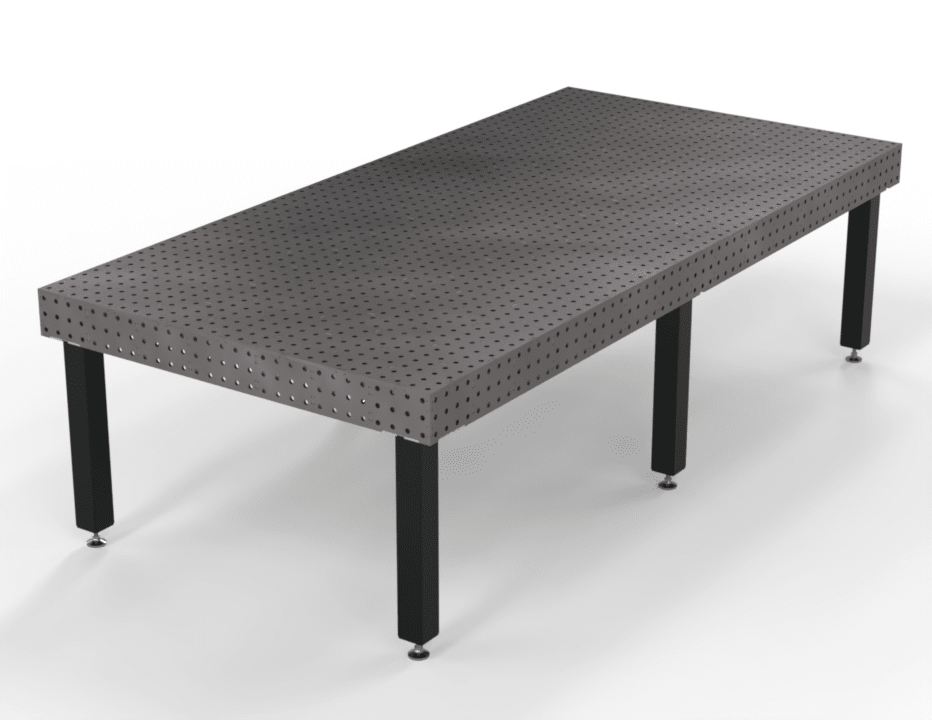
How to Maintain a Laser Cut Welding Fixture Table
A laser cut welding fixture table provides the accuracy and stability needed for precise fabrication and repeatable welding setups. While laser cut fixture tables are durable and cost-effective, they require regular maintenance to prevent rust, maintain flatness, and ensure reliable performance.
Unlike nitrided tables, laser cut fixture tables made from untreated steel do not have a hardened, corrosion-resistant surface. This makes routine cleaning and protection even more important. By following a simple maintenance routine, you can extend the life of your fixture table and keep it performing at its best.
Why Maintenance Is Important
A welding fixture table serves as the foundation for accurate fabrication. Dirt, weld spatter, grinding dust, and surface rust can affect the positioning of clamps, locator pins, and workpieces, leading to less precise setups.
Regular maintenance helps you:
- Prevent corrosion and rust
- Maintain table accuracy
- Reduce weld spatter buildup
- Extend the service life of the table
- Improve repeatability for fabrication projects
- Keep fixture holes clean and functional
A few minutes of maintenance after each project can help preserve the table for years of daily use.
Clean the Table After Every Welding Job
After each welding project, remove metal shavings, grinding dust, slag, and other debris from the tabletop.
Use cleaning brushes with nylon or brass bristles to sweep away loose material without unnecessarily scratching the steel surface. Follow up with compressed air or a shop vacuum to remove fine particles from the tabletop and fixture holes.
Keeping the table clean allows clamps and accessories to seat properly and helps maintain accurate fixture setups.
Remove Weld Spatter Promptly
Weld spatter can build up on the tabletop and interfere with workpiece positioning.
Remove fresh spatter as soon as possible using a brass scraper or plastic scraper. Avoid excessive grinding on the table surface, as unnecessary material removal can reduce the table's flatness over time.
Using anti-spatter spray on workpieces before welding can also make cleanup easier.
Eliminate Burrs with an Oil Stone
Small burrs or raised edges can occasionally form from accidental hammer strikes, dropped materials, or spatter removal.
A fine oil stone can be used to gently smooth these high spots without removing more material than necessary. Use light, even strokes and focus only on the raised areas that could interfere with workpiece positioning or clamping.
This simple maintenance step helps keep the table surface as flat and consistent as possible.
Protect the Table with WD40
Because untreated steel does not have the corrosion resistance of a nitrided surface, it should always be protected after cleaning.
Apply a light coating of WD40 after the table has been cleaned and dried. The thin protective film helps prevent moisture from reaching the steel and reduces the likelihood of surface rust forming between uses.
Before beginning your next welding project, wipe away any excess oil to ensure clean welds and prevent contamination.
Prevent Surface Rust
Humidity, coolant, fingerprints, and shop moisture can all contribute to rust formation.
To minimize corrosion:
- Store the table in a dry environment.
- Wipe away water or coolant immediately.
- Keep the surface lightly protected with WD40 when the table is not in use.
- Inspect the table regularly for early signs of oxidation.
If light surface rust appears, remove it carefully with an oil stone or a fine abrasive pad before applying a fresh protective coating.
Keep Fixture Holes Clean
Precision fixture holes are essential for repeatable setups.
Metal chips, slag, and grinding dust can prevent locator pins and clamps from seating correctly. Use cleaning brushes and compressed air to clear each hole after use.
Never force tooling into dirty holes, as doing so can damage both the accessories and the table.
Avoid Common Maintenance Mistakes
Proper care also means avoiding practices that can shorten the life of your fixture table.
Avoid:
- Grinding directly on the tabletop
- Using steel chisels to remove weld spatter
- Leaving moisture on the surface overnight
- Storing the table without corrosion protection
- Sliding heavy fabrications across the tabletop
- Ignoring rust or raised burrs
Taking preventative measures is far easier than repairing a damaged work surface.
Recommended Maintenance Schedule
After Every Use
- Remove weld spatter
- Brush away chips and grinding dust using cleaning brushes
- Clean fixture holes
- Wipe the table dry
- Apply a light coat of WD40 if the table will not be used immediately
Weekly
- Inspect for rust or corrosion
- Check fixture holes for debris
- Remove raised burrs with an oil stone as needed
Monthly
- Perform a thorough inspection of the tabletop
- Reapply corrosion protection
- Verify table stability and level
- Inspect clamps, locator pins, and accessories for wear
Benefits of Regular Fixture Table Maintenance
Maintaining a laser cut welding fixture table provides several long-term benefits:
- Longer service life
- Improved welding accuracy
- Reduced corrosion
- Faster setup times
- Better clamp performance
- Lower maintenance costs
- More consistent fabrication results
Routine care helps ensure your table remains a dependable part of your welding operation.
Final Thoughts
A laser cut welding fixture table is a reliable and economical choice for fabrication shops, but it requires consistent maintenance to deliver long-lasting performance. Regular cleaning with cleaning brushes, removing burrs with an oil stone, and protecting the surface with WD40 are simple steps that help prevent rust, maintain precision, and extend the life of your investment.
Whether you're handling custom fabrication, repair work, or production welding, a well-maintained laser cut welding fixture table will provide accurate setups, dependable clamping, and consistent results for years to come.